While Submerged in Water, Creating Content
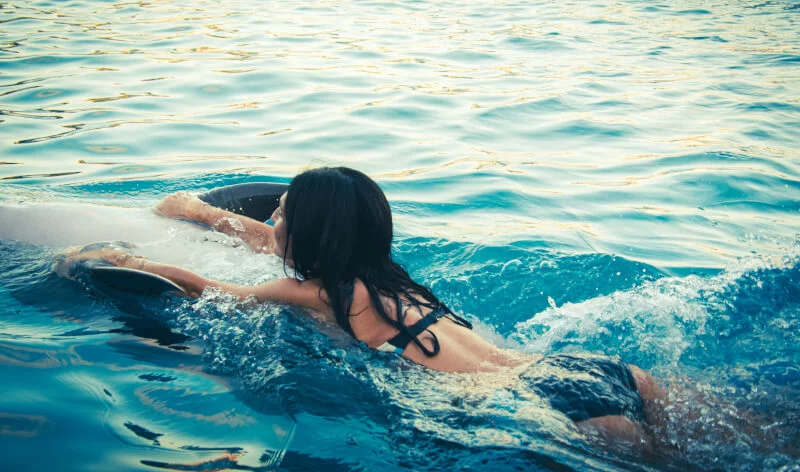
The creation of media that takes place in water, whether in a marine setting or a swimming pool, is a gargantuan task best left to professionals.
The vast and glittering realm of the ocean has appeared in a number of classic films, including Master and Commander, The Big Blue, Waterworld, and Jaws, to mention a few. Guillermo del Toro’s depictions of dark and fascinating regions, which have garnered the respect and affection of viewers all over the world, have seen a boom in popularity in recent years. The film “The Shape of Water,” which was nominated for four Academy Awards and won one for “Best Picture,” is an excellent example of the difficulties that one has when filming in this type of environment.
5 Water Shooting Tips
In addition to the overall fundamentals of cinematography, such as the three-point lighting system, the short key, and so on, there are also specialised precepts that apply specifically in specific situations. Because these types of situations do not occur frequently, it may take some time to develop a mental toolkit that will help you to make the most of them when they do. Filming sequences near water, such as along riverbanks, on beaches, alongside swimming pools, or even in bathrooms, is one such scenario. With the instruments at their disposal, how can one produce the most cinematic look possible?
1. Make use of a circular polarising filter
A polarising filter prevents all light waves except those in a specific plane from passing through it. By rotating a circular polarizer filter until you discover the angle that works best for you, you should be able to reduce the number of reflections you see. This is due to the fact that reflections frequently occur in a single plane. This may have an impact on how the water appears in the shot. When the sky is foggy, employing a CP allows you to reduce the reflections of the grey sky, making the water more translucent and blue.
2. Shine brightly
You have sufficient evidence to demonstrate that heading for the sun is helpful.
This Stop/Eject image was obtained by facing the camera toward the sun, which provided a gorgeous backlight and sparkles on the river.
When the sun shines on water, especially large bodies of water, it always appears to be more lovely. How can one picture anything like this? When putting up a bounce house, remember that the angle of incidence should be equal to the angle of reflection. When shooting outside at any time of day, getting the timing correct is critical. Because you want the light from the sun to enter your camera after reflecting off the water’s surface, you must stand with your back to the sun and hold the camera with the lens facing the sun. You can prevent lens flare by using a top flag on your matte box, sometimes called as a “top cut” or a “eyebrow.”
3. Check if the light is rippling
A trash can and a child’s plastic wading pool were used to create a rippling light effect in “The Little Mermaid.” Take note of the black cloth, which is indicated in point 4 below.
A rippling light effect was achieved for close-up shots on The Little Mermaid by combining the usage of a paddling pool and a trash can. Take note of the black cloth, which is indicated in point 4 below. The white stool that the talent was seated on can be seen at the end of the paddling pool.
Using the same technique, you can record rippling light effects on walls, faces, and other surfaces. This time, you want light from the sun or another artificial light source to reflect off the water’s surface and strike your subject. By carefully positioning a fish tank, paddling pool, or something else along the similar lines in relation to the light and the subject of your shot, you can create the illusion of an off-camera body of water.
4. Get rid of that bottom bounce
Keep in mind that not all of the light will reflect off the water’s surface. Take note of this. Some will go right through it, then hit your target after rebounding off the bottom of the pool’s ground. If the pool’s bottom is not a dark colour, this stationary bounce light will be more visible than the light reflected off the surface of the water. Duvetyne or similar dark cloth can be spread on the pool’s bottom to minimise bouncing below the water’s surface.
5. Make it up
On The Little Mermaid, a grip is ready to produce the effect of light rippling around the ocean.
The grip, Sawyer Oubre, is standing by to produce the effect of waves in the water for “The Little Mermaid.”
If you need to create a rippling light effect without using water, use a sheet of blue gel on a frame in place of the water surface. This creates the illusion that light is moving across the surface of the water. If you shake the frame slightly (but not too much, otherwise the sound department will start yelling at you), the gel in the frame will ripple, creating the appearance that water is flowing through it. Jason Batey, who was one of my primary grips on “The Little Mermaid,” taught me how to employ this technique.

